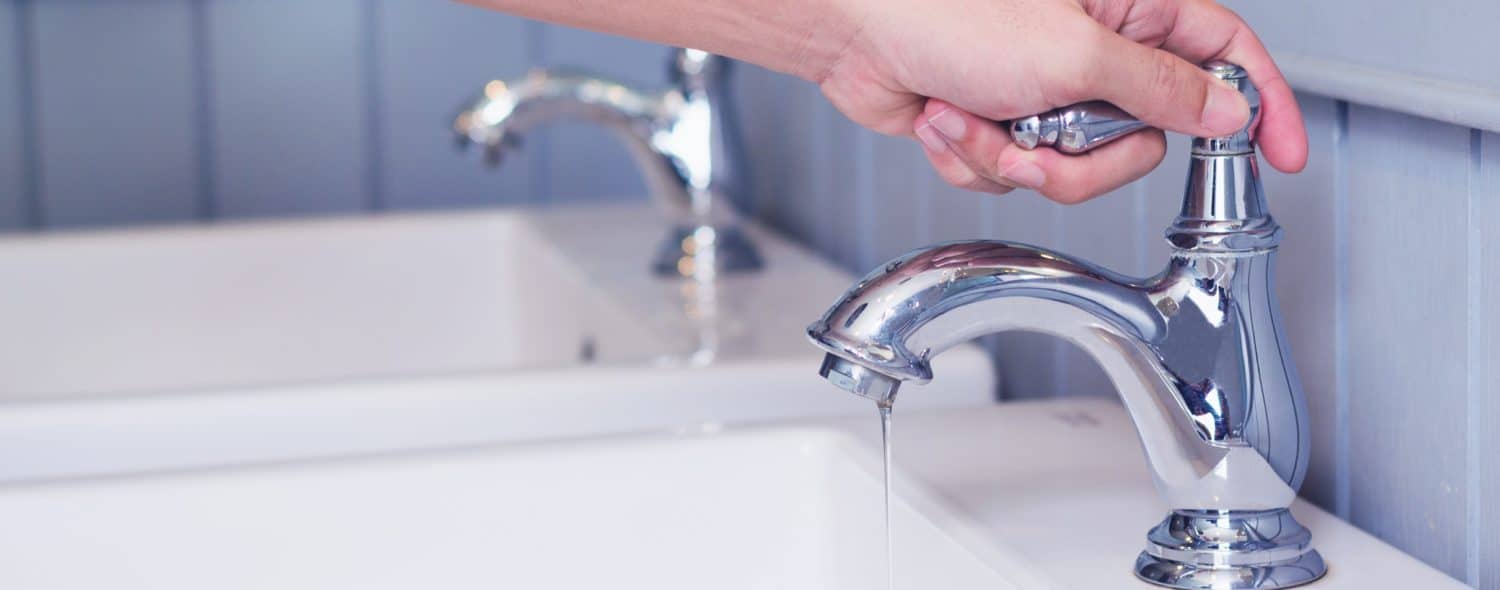
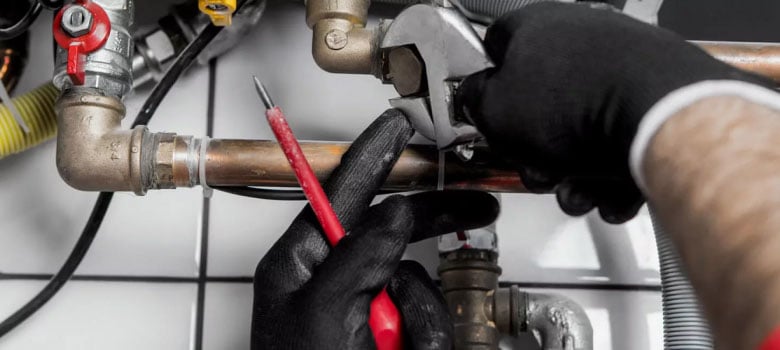
For many of us, changing a tap washer can be a pretty daunting task. But if you have the right tools, you can soon learn how to do this basic home maintenance yourself. First off, you’ll need some basic tools such as a wrench or a set of multi grips – see image bottom left below), a screwdriver (depending on your tap fitting, some may need an Allen Key to remove the tap fitting), a replacement washer of the right size, and you may also need a reseating tool which is available from most hardware or plumbing supply shops (see image bottom right below). Reseating the tap will ensure the washer sits snugly against the tap fitting, so you’re less likely to get leaks.
The first thing to do is ensure the water supply is turned off to the premises. If you’re not sure how to do this, check out the article on turning off your water supply.
It’s a good idea to put the plug into the sink so you don’t drop any screws or parts down the sink as you manage the repair.
Next, you’ll need to remove the tap so the washer is exposed. Some taps unscrew through their handles – use your screwdriver to pop the top off, then turn it all the way on until you can lift off the handle (see below left image).
Other taps, like mixers, may have a screw fitting in the back (it may be concealed, so you may need to remove a small cover to expose the screw first). Some have Allen Key fittings. Unscrew the fitting, and the top handle should be able to be lifted off (see the image below).
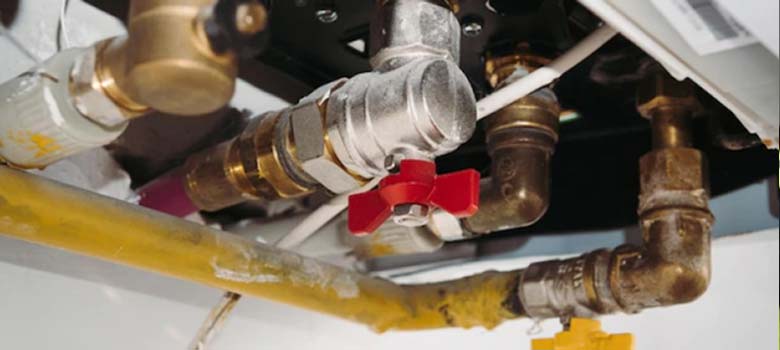
Pop the lid off your water box – you may need a screwdriver or something similar to get under the lid. Once it’s off you need to look for the valve. Below are some examples. Turn the valve in a clockwise direction (to the right) to turn the water supply off. Be sure to check the water in the house using taps to ensure that it is actually off.
REPLACING THE WASHER
Inside the tap fitting, you’ll be able to see the old washer. Remove it and check if it’s the same type of washer you have purchased to replace it with. Wipe out the inside of the tap to check the “seat” surface – this is where the washer was sitting – if it’s rough, you may need to reseat the area before fitting the new washer. To do this, take your Reseating Tool (pictured above) and place it on the surface where the washer was (the seat), now hold the reseating tool firmly in place, and screw the top of the tool several times. This will smooth off any rough surfaces, making it ready to take the new washer. Remove the tool and clean the area with a rag. Feel the seat to ensure it’s smooth (as shown below right). If not, you may need to reseat a little more; a little at a time is best. Once smooth, it’s a good idea to add a little lubricant or grease to the area, then insert the new washer.
If you’re on tank water, you’ll need to turn off the taps at your tank/s and turn off the pump (if you have one) so it doesn’t run dry (once you turn the water supply back on, you may need to prime the pump again if it’s not self-priming). If you’re unsure, your DYFA Plumber will be able to reconnect your water supply and have it working again.
Once you’ve inserted the washer, you can replace the tap fitting and restore the water supply to your premises. Ensure the tap turns off fully and there are no leaks, and you’re done!
If you are unsure or would like a professional to do this for you, call the team at DYFA Plumbing. Our 24-hour emergency service can have your burst washers fixed in no time, and you won’t have to buy any specialist tools. Give us a call at 07 5475 4152 any time. After hours, this diverts to our on-call plumber.
Receive tips, product information, design and maintenance tips delivered right to your inbox!
One email per month, and no spamming (we promise).


