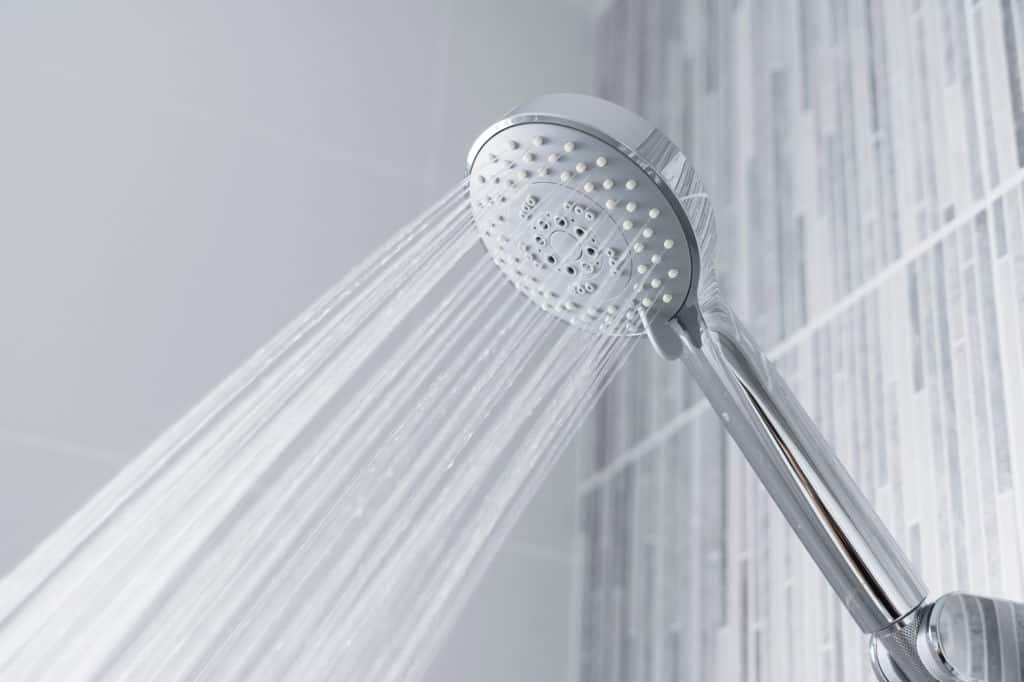
Did you know the average Australian spends 7 minutes in the shower?
If that time for you is spent trying to get your water pressure right or struggling through a drizzle when you’re trying to get ready for work, you may be in need of a new showerhead.
Thankfully, replacing a showerhead is a DIY general plumbing job that you can do in your spare time as long as you have the right tools and a simple step-by-step guide. And we wrote that guide!
In this article, we’ll list the tools you’ll need before you get started, help you understand your new showerhead options, and outline the 5 super simple steps you need to take to start enjoying your shower time again.
Let’s get right into it!
Does your shower head need changing?
There’s nothing worse than an underwhelming shower on a muggy Queensland day. Whether you shower in the morning or the evening, a poor showerhead can put a damper on your day. Add in an aged showerhead that’s seen better days and your bathroom can go from a personal oasis to pretty ordinary. If you spot any of the following red flags, it may be time to ditch your current showerhead and find a replacement:
- Low water pressure: Whether a slight drizzle or a constantly changing flow, water pressure problems need to be addressed.
- Leaks: A leaking showerhead is annoying (try sleeping with incessant dripping coming from down the hall), but can be expensive on your next water bill too.
- Sediment buildup: If you’re noticing a build-up of sediment or hard grime around your shower head, you may be dealing with damaged filters that need replacing.
- Mould: The dreaded ‘M’ word, mould is both an eyesore and a health hazard in waiting. If you spot mould, it’s time for a showerhead upgrade.
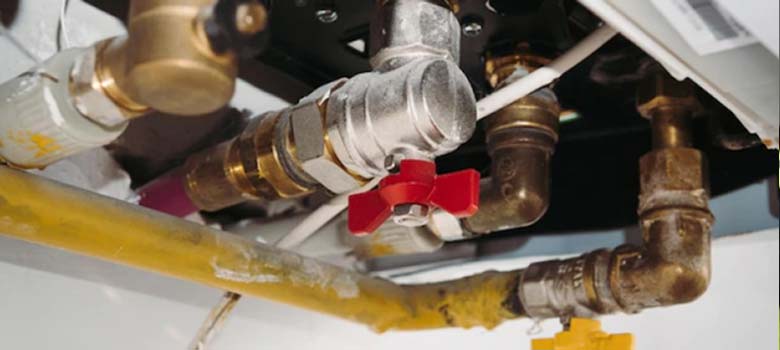
Before you go…if you’re struggling with inconsistent water temperature, you may have a hot water plumbing problem that needs attention.
How to choose a shower head replacement
Long gone are the days when your choice of showerhead was limited to a handful of options. In fact, you may even struggle to choose a replacement fixture with the wide range of showerhead styles, designs, and colours on offer.
For example, are you interested in a wall mount, rain, adjustable spray, handheld, top mount, dual, or shower panel system? Do you have a preference between high-pressure or low-flow? You can also take your bathroom customisation a step further with lights, music, and temperature control to create a bathroom that’s truly one-of-a-kind.
DYFA Plumbing Tip: When choosing a showerhead, factor in who will be using it and what type of spray pattern you’re interested in. For example, an outdoor shower can be a simpler fixture than your main bathroom shower. A strong, concentrated spray is ideal for washing hair while rain-like droplets may be more appropriate for an outdoor shower.
If in doubt, get in touch with our experienced team for help, advice, or 100% obligation-free quotes.
Looking for more simple bathroom upgrades? Get inspired by our top 5 bathroom fixtures you’ll LOVE this year.
What tools do you need to switch out your showerhead?
You won’t need to head to Bunnings to stock up on supplies to handle this DIY shower fix – you don’t even need to turn off your water mains. Switching out your showerhead can be done with the following tools you have lying around the house.
- Ladder or stool (if needed)
- Thread-sealing tape
- Adjustable wrench
- Soft jaw pliers
- Toothbrush, wet rag, or wire brush
- Replacement showerhead
Now that you know the tools of the trade you’ll need, let’s talk about the quick and easy process of replacing your old showerhead with something shiny and new.
How to change a showerhead in 5 simple steps
A small upgrade in your Sunshine Coast bathroom can make a HUGE difference. If you’re looking to upgrade a tired or out-of-date showerhead, then here’s how you do it like a pro.
Step #1 – Remove the old showerhead
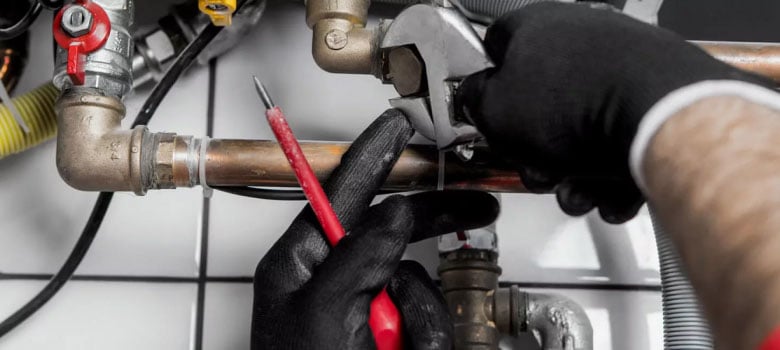
Removing your unwanted fixture may be as simple as turning it counterclockwise and removing it by hand. Or, if it won’t budge, use your adjustable spanner and unwind the fixture until it comes free of the arm. (Oh, and make sure you’ve turned the water off at the tap to avoid an unexpected shower).
Step #2 – Clean the shower arm and thread
If there’s a build-up of rust, scale, or other hard grime, use a wet rag, wire brush, or toothbrush to clean the shower arm and thread. This will allow for optimal water pressure when you attach your new showerhead as well as cleaner water, not to mention make the next installation steps easier. A clean and dry thread is required before moving on to the next step, so remove all moisture and muck before moving on.
Step #3 – Apply thread-sealing tape
Your shower may have an internal rubber washer to prevent leaks, but adding thread tape offers advantages regardless (and is necessary if there’s no washer to seal the threads). Wrap your thread tape around the shower thread in a clockwise direction (applying counterclockwise will unravel the tape when you go to screw in your new showerhead).
Proper thread tape application will also stop the threads from locking together over time, making it easier to remove your showerhead if you opt for another upgrade down the line.
Step #4 – Install your new showerhead
With your old fixture removed and the shower arm cleaned and taped, it’s time to install your new showerhead. It’s best to check the manufacturer’s instructions as showerheads differ, not to mention the impact your shower’s design makes. For example, some showerheads may be installed without tools and can be hand screwed. Others will require an adjustable wrench and soft pliers to avoid damaging the fixture.
DYFA Plumbing Tip: Avoid over-tightening your new fixture. The showerhead should feel marginally more than snug but don’t force the installation or you’ll risk damaging the threads.
If in doubt, reach out and speak to a member of the DYAF Plumbing team for fast and reliable support to get your bathroom properly fixed and fitted.
Step #5 – Check for leaks
You’re almost done! The final step is to make sure there are no leaks before you put the tools away and enjoy a long overdue shower whether it’s wall-mounted, handheld, rain-style, or another type entirely.
Turn on the tap and look for any leaks from the internal connections. If your thread-sealing tape has been applied correctly, you shouldn’t be seeing any escaping moisture. A leak can indicate your thread tape has shifted, your rubber seal is not working, or a damaged internal component.
If there’s no leak, congrats! You just became a DIY plumbing pro. And if you do spot a leak that’s tough to fix, get in touch on 07 5475 4152 and we’ll be happy to help you find and fix the problem FAST.
Worried you’ll run into a DIY disaster? Don’t replace your showerhead without reading this guide!!!
Final thoughts: When to change or replace your showerhead
The process of switching out your current showerhead will vary depending on the type of showerhead you choose and your shower style. A standard wall mount is typically the easiest (and most affordable) type of showerhead to replace, however, a hand-held shower may require more steps.
Your showerhead should be cleaned every 6 to 8 months, and if you’re finding too much sediment build-up or constantly troubleshooting leaks, it might be time to upgrade to a brand new showerhead and give your Sunshine Coast bathroom a simple and affordable upgrade.
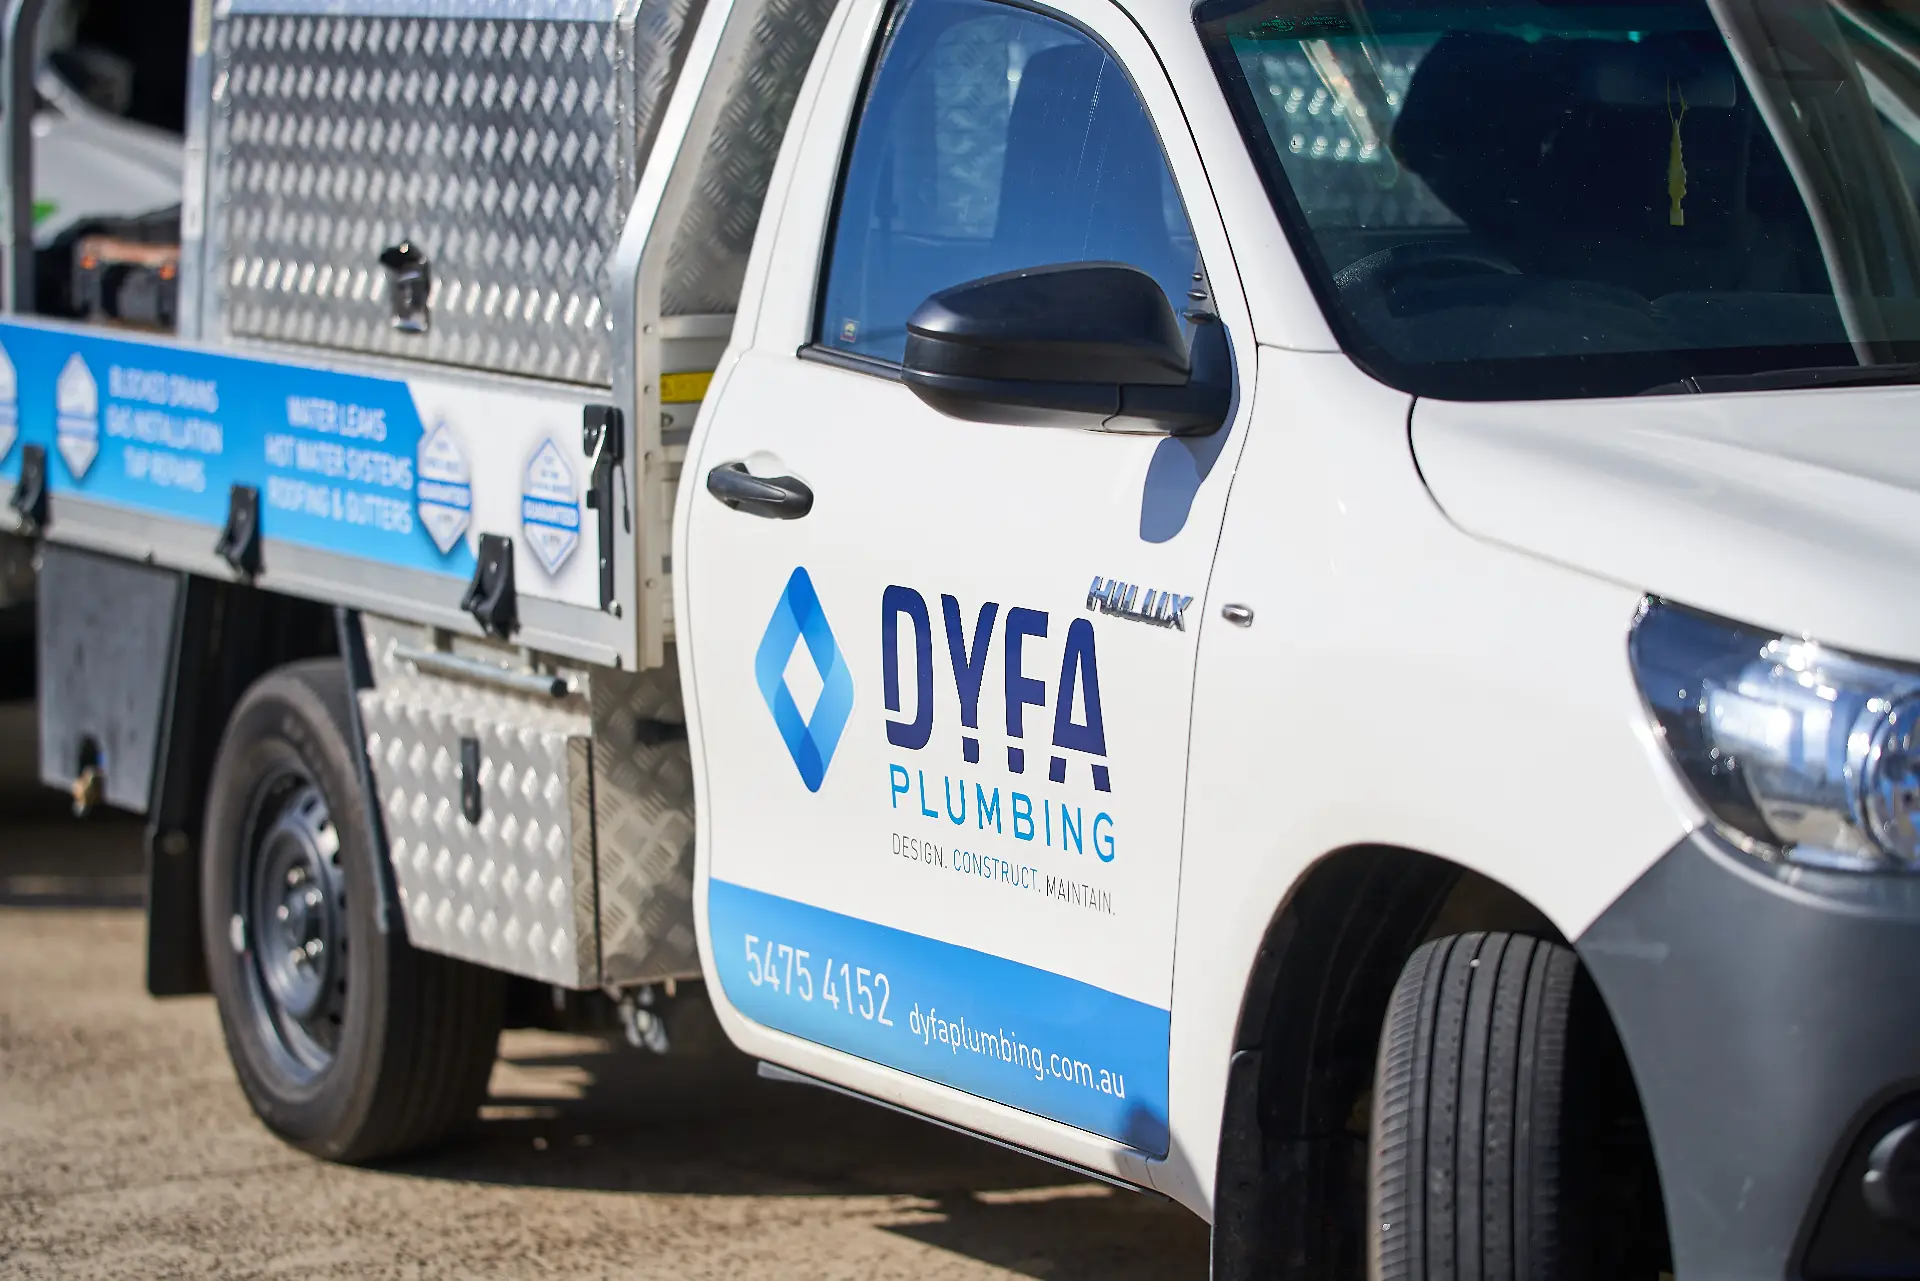
Congratulations! You now know how to switch out your showerhead and keep a little extra money in your pocket. At DYFA Plumbing we’re experts in all forms of residential, commercial, and emergency plumbing, so if you’re looking for the most affordable and reliable plumbing team from Caloundra to Noose, get in touch and request a quote today!